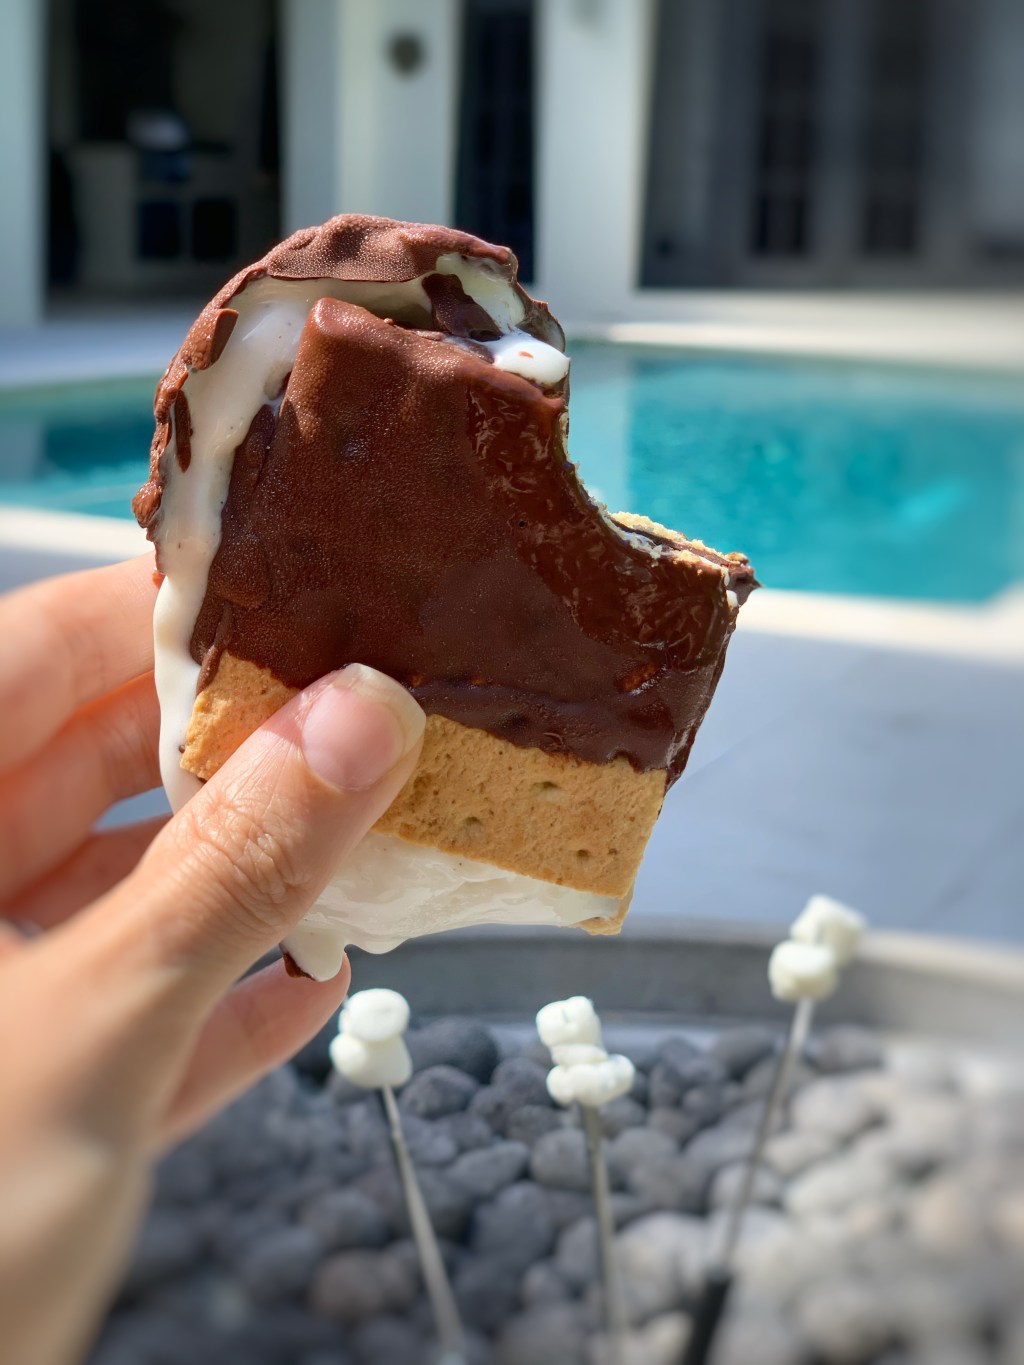
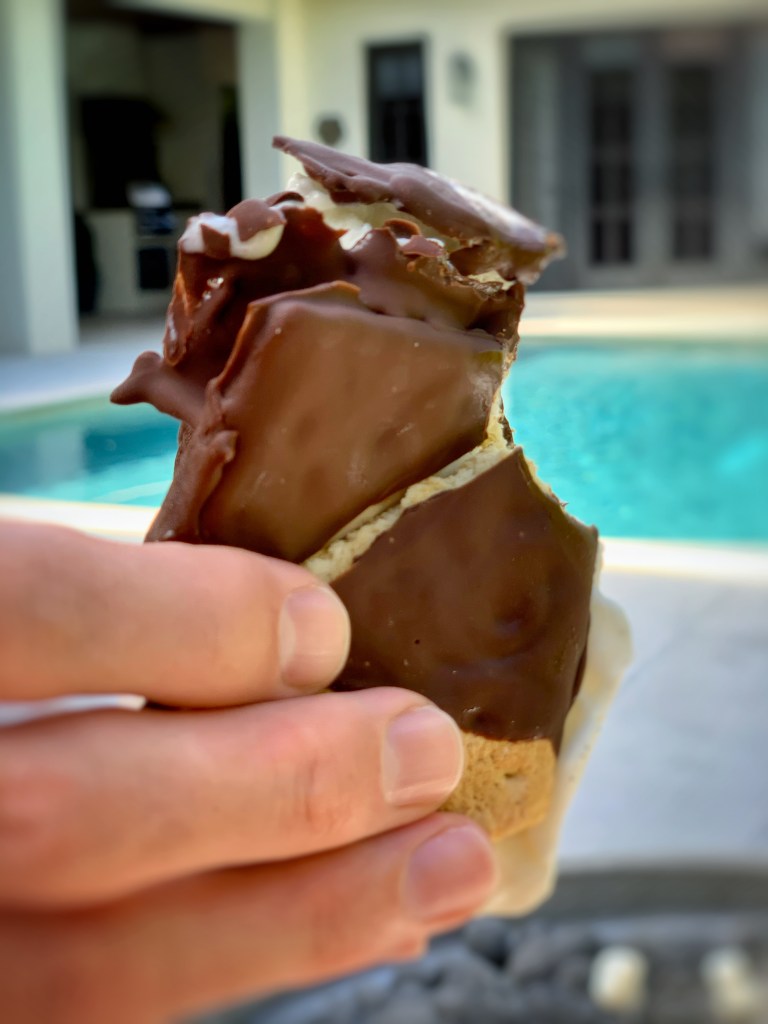
When you think of nostalgic summer desserts, what do you think of? For me, I think of s’mores and ice cream. Sticky fingers by the fireside, melting drips on your shoes, and of course lots of laughs with family & friends. Being that we’re in Florida, summer nights rarely call for lighting the fire pit. But I still crave that idyllic flavor of summer campfire treats. So I decided to combine the two desserts of summer! I introduce to you, a S’Mores Ice Cream Sandwich. All the wonderful flavors of a traditional s’more, but with the added refreshing cold, creaminess of ice cream. Instead of indulging after the sun sets, we dive into them after a day in the water. Because well, ‘dessert first’. They’re just as messy but even more satisfying.
Purchase Marshmallow flavored ice cream or make the homemade three-ingredient, ‘whip, blend & freeze’ marshmallow ice cream linked below. No ice cream maker needed, just time to allow the ice cream to freeze.
If you don’t want to make your own ice cream, you can always use Ben & Jerry’s Phish Food, Schwan’s Chocolate Marshmallow Ripple Ice Cream, or double-down by using Ben & Jerry’s S’More Ice Cream! For those who don’t do dairy, we’ve even used So Delicious Coconutmilk Vanilla and S’mores Oakmilk, and it’s so delicious! Just make sure that the ice cream is straight out of the freezer when you start making them – you want the ice cream to be firm.
Adjust your amounts of ingredients depending on your desired number of ice cream sandwiches. As for the chocolate, I use a 72% Dark Ghirardelli and it’s amazing. Kids though might prefer the old tried & true, Hersey’s Chocolate Bar. You will roughly need two bars for every four sandwiches.
Ingredients
- Easy Homemade Marshmallow Ice Cream (or store-bought, as per above)
- 2 Cups Heavy Cream
- 14 ounces Sweetened Condensed Milk
- 7 Ounces Marshmallow Fluff
- Graham Crackers
- Chocolate Bars, melted
DO AHEAD: If you’re making homemade ice cream, prep ahead per the recipe link above. The ice cream sandwiches can be made 2 days ahead. Wrap each sandwich individually in foil and keep frozen.
Melt the chocolate bars. I highly recommend splurging for an official chocolate candy melt pot, such as a Wilton (thank you, Kelly!) – it makes life so much easier when making chocolate dipped desserts. If you don’t have one though, you can either melt the chocolate on the stove top, or there are notes below on how to microwave the chocolate.
While the chocolate is melting, line a freezer safe dish with parchment paper. Be sure it is a size that will fit in your freezer. The use of the parchment is key – this will keep the chocolate sticking to the cracker instead of the prep dish.
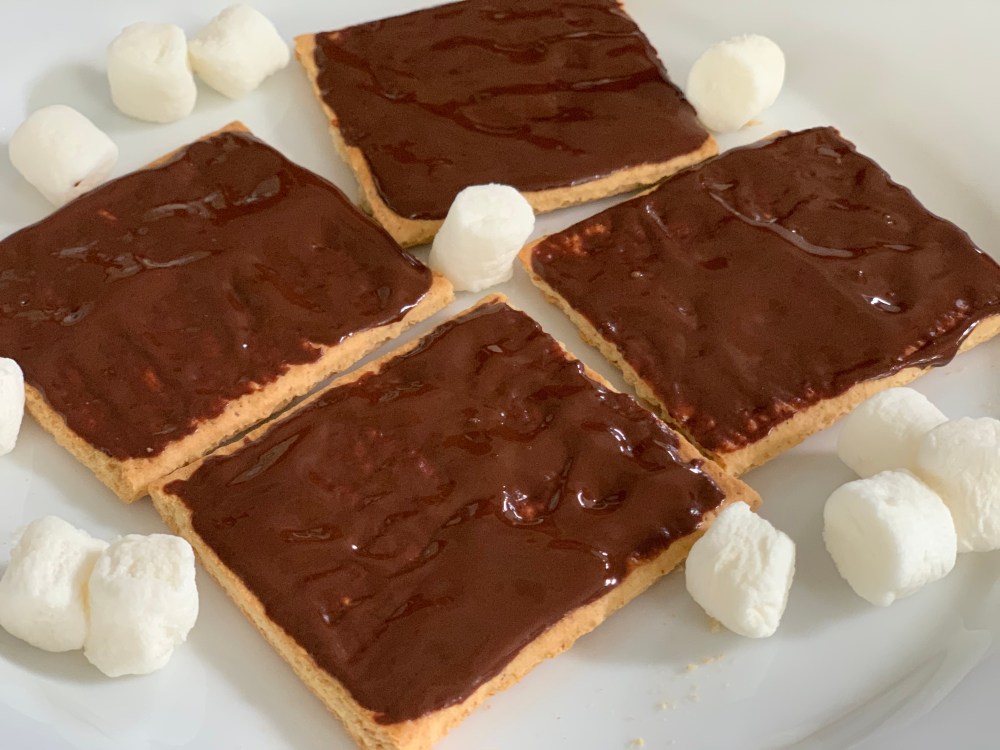
Break the graham crackers in half. Once the chocolate is melted, cover one-side of each graham cracker, up to 3/4 of the surface area. You want to leave a small area to hold onto without getting chocolate on your fingers! Place them in the freezer for a few minutes to allow the chocolate to harden. When hard, completely cover the other side of the cracker with chocolate. Place them back in the freezer for a few minutes to harden the additional chocolate.
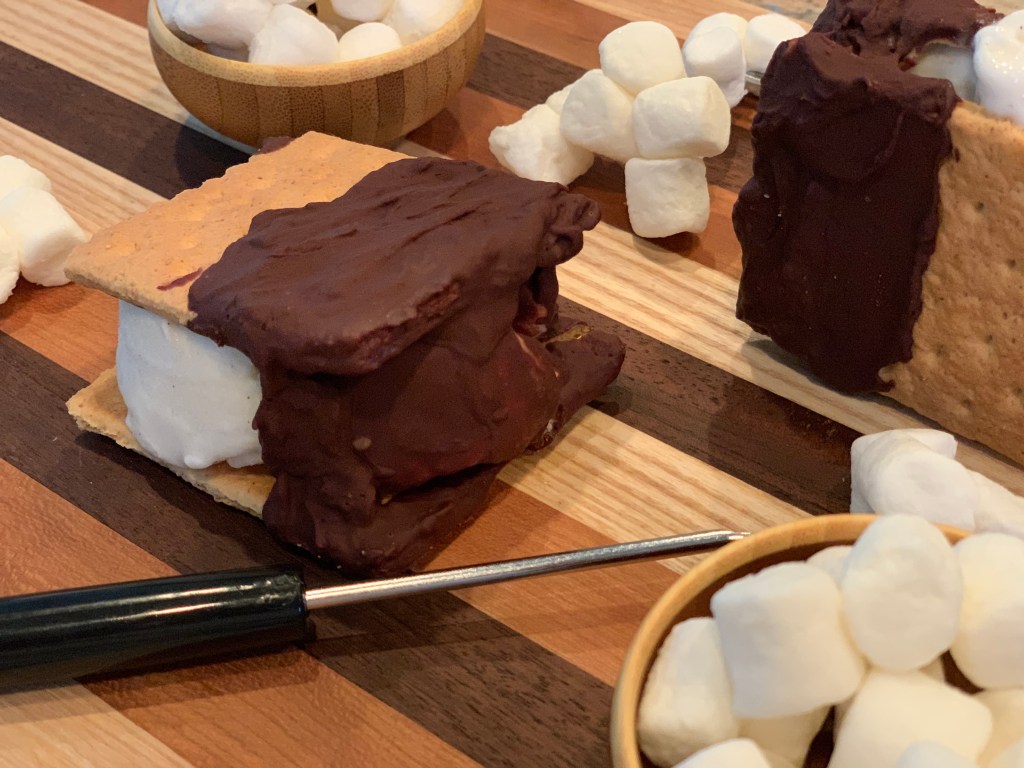
Once the chocolate is firm, scoop the ice cream onto a half of graham cracker and top with the other half of cracker (make sure the exposed graham cracker sides are on the outside). Next, dip or drip the melted chocolate on one end of the ice cream sandwich. Place back on the parchment and freeze for at least an hour, but ideally four hours. Serve straight out of the freezer.
Microwaving Chocolate Bars: In a microwave safe mug or bowl, break up the chocolate bar and stack the squares in the mug. I usually start with about 3 to 4 squares at a time. Place in the microwave for 30 seconds, and then stir it. Place back in the microwave for another 30 seconds, and repeat stirring. The chocolate will continue to melt once it’s out of the microwave, so continue to stir it – I even add in additional squares at this point, and they usually melt while I’m stirring the chocolate. It’s important not to overheat the chocolate because it will burn. You can put it back in the microwave but do it for shorter intervals and keep an eye on it.


DID YOU MAKE IT & LOVE IT?
Post your picture & tag #APartyInMyPantry


Leave a comment