
It’s not a secret. I love, love chocolate.
And when you can take chocolate, and then dip into more chocolate. Well my friend, I’m sold. Now I’m sure you’ve seen these around by now, but let me tell you… there is a reason you keep seeing them – they are amazing!
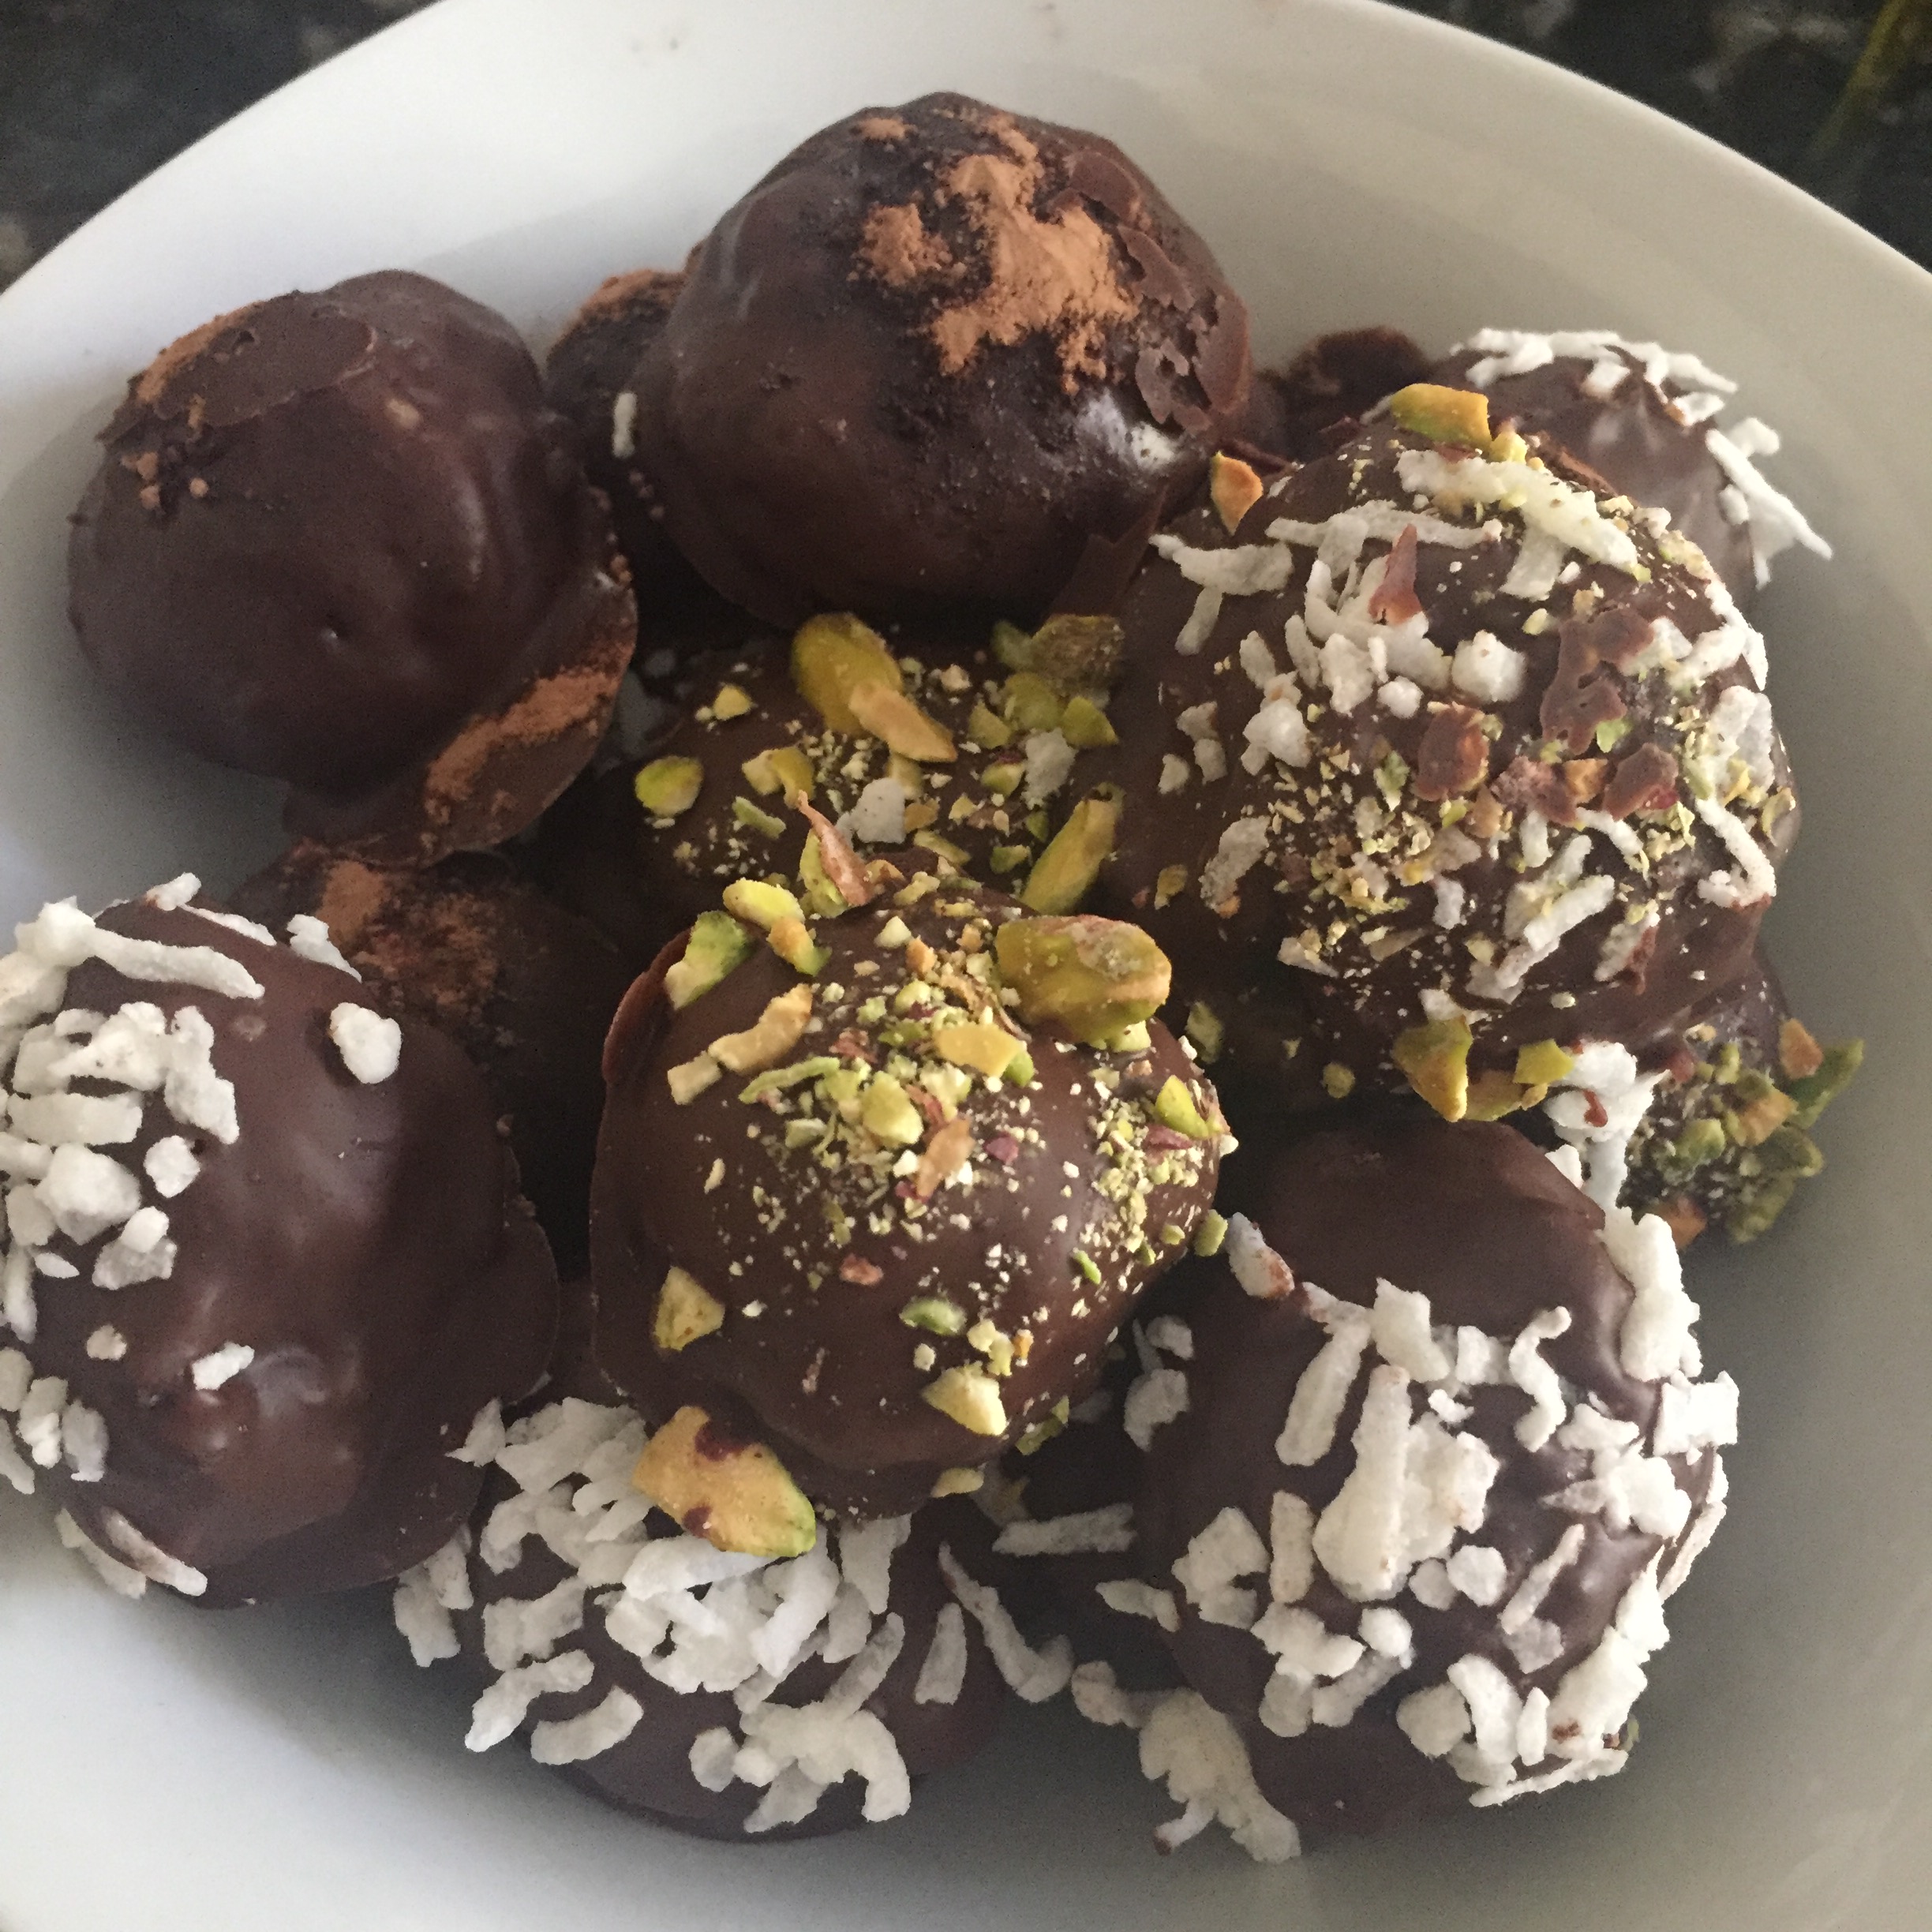
My version is a bit different than most I’ve come across though. One, I use Paul Newman-O’s, which are “healthy” Oreos :). They are lower in fat though, and are made with all organic ingredients. And did I mention that besides Original, they also come in Peanut Butter and Mint Creme? Yum! I also use low fat cream cheese – trust me, these are so decadent, you will not notice you’re missing the full octane cream cheese. Then, I use the best chocolate I can find to melt. I use a combination of milk chocolate and dark chocolate, and then I melt a vanilla bean white chocolate. As for toppings, I’ve used sprinkles, cocoa powder and shaved coconut. I recently have been skipping the sticks as well – I think it looks more elegant on the plate as a truffle, but it does get a bit messier! It’s up to you on how you would like to serve them – either way, they’ll be a hit!


Ingredients
- 24 Newman-O’s
- 2 packages of Godiva Chocolate (milk, dark or vanilla bean)
- 1 container of Low Fat Cream Cheese
- Assorted toppings, such as sprinkles, shaved coconut or cocoa powder
- Parchment Paper
- Food Processor
- Microwaveable Mug/Bowl
- Popsicle Sticks (optional)

Place as many Newman O’s into your food processor as can realistically fit. Grind the cookies until they’re small crumbs, like the picture below.

Once the cookies are all crumbs, scoop in the cream cheese. Again, it’s more of an eyeballing the amount than an exact measurement. Start smaller if you need to, blend them, and adjust accordingly. Scoop out the dough, and roll into round balls. Place on a tray lined with parchment paper. If you’re going to use sticks, this is the time to insert them into the dough. At this point you can either put the dough in the refrigerator to chill them if they are really soft, or you can proceed to the next step.

In a microwave safe mug or bowl, break up the chocolate bar and stack the squares in the mug. I usually start with about 3 to 4 squares at a time. Place in the microwave for 30 seconds, and then stir it. Place back in the microwave for another 30 seconds, and repeat stirring. Many notes here! One, the mug gets really hot so have a hot mitt nearby. The chocolate will continue to melt once it’s out of the microwave, so continue to stir it – I even add in additional squares at this point, and they usually melt while I’m stirring the chocolate. It’s important not to overheat the chocolate because it will burn. You can put it back in the microwave but do it for shorter intervals and keep an eye on it.

When the chocolate is melted, it’s time to start dipping! You can either use the stick for dipping, or you can use your fingers, with the assistance of a spoon if needed, to cover the balls in the chocolate. Once dipped, place them back on the parchment paper and decorate with your toppings. Repeat with all the balls.

Now that all the hard work is done, it is the time to test your patience! But hey, if need be, give in and try one… I may have once, … or twice. If there are still some left ;), place them in the refrigerator to chill. I do cover them if I plan to have them in there for any time longer than a half hour.

While it is good to have them slightly chilled, I usually bring them out of the refrigerator about 15 to 20 minutes before I serve them. You want them to return to their slightly gooey state for when people bite into the rich chocolate coating. Mmmm, happiness…


Leave a comment